
How to Check Brake Rotor Thickness and Find the Minimum Marking
The minimum-thickness marking on a brake rotor is easy to miss, and finding it is only half the check. You need to compare your measurements with the specification for your vehicle, not a general figure. This guide shows where to look, how to measure, and when a rotor must be replaced.
Quick Answer
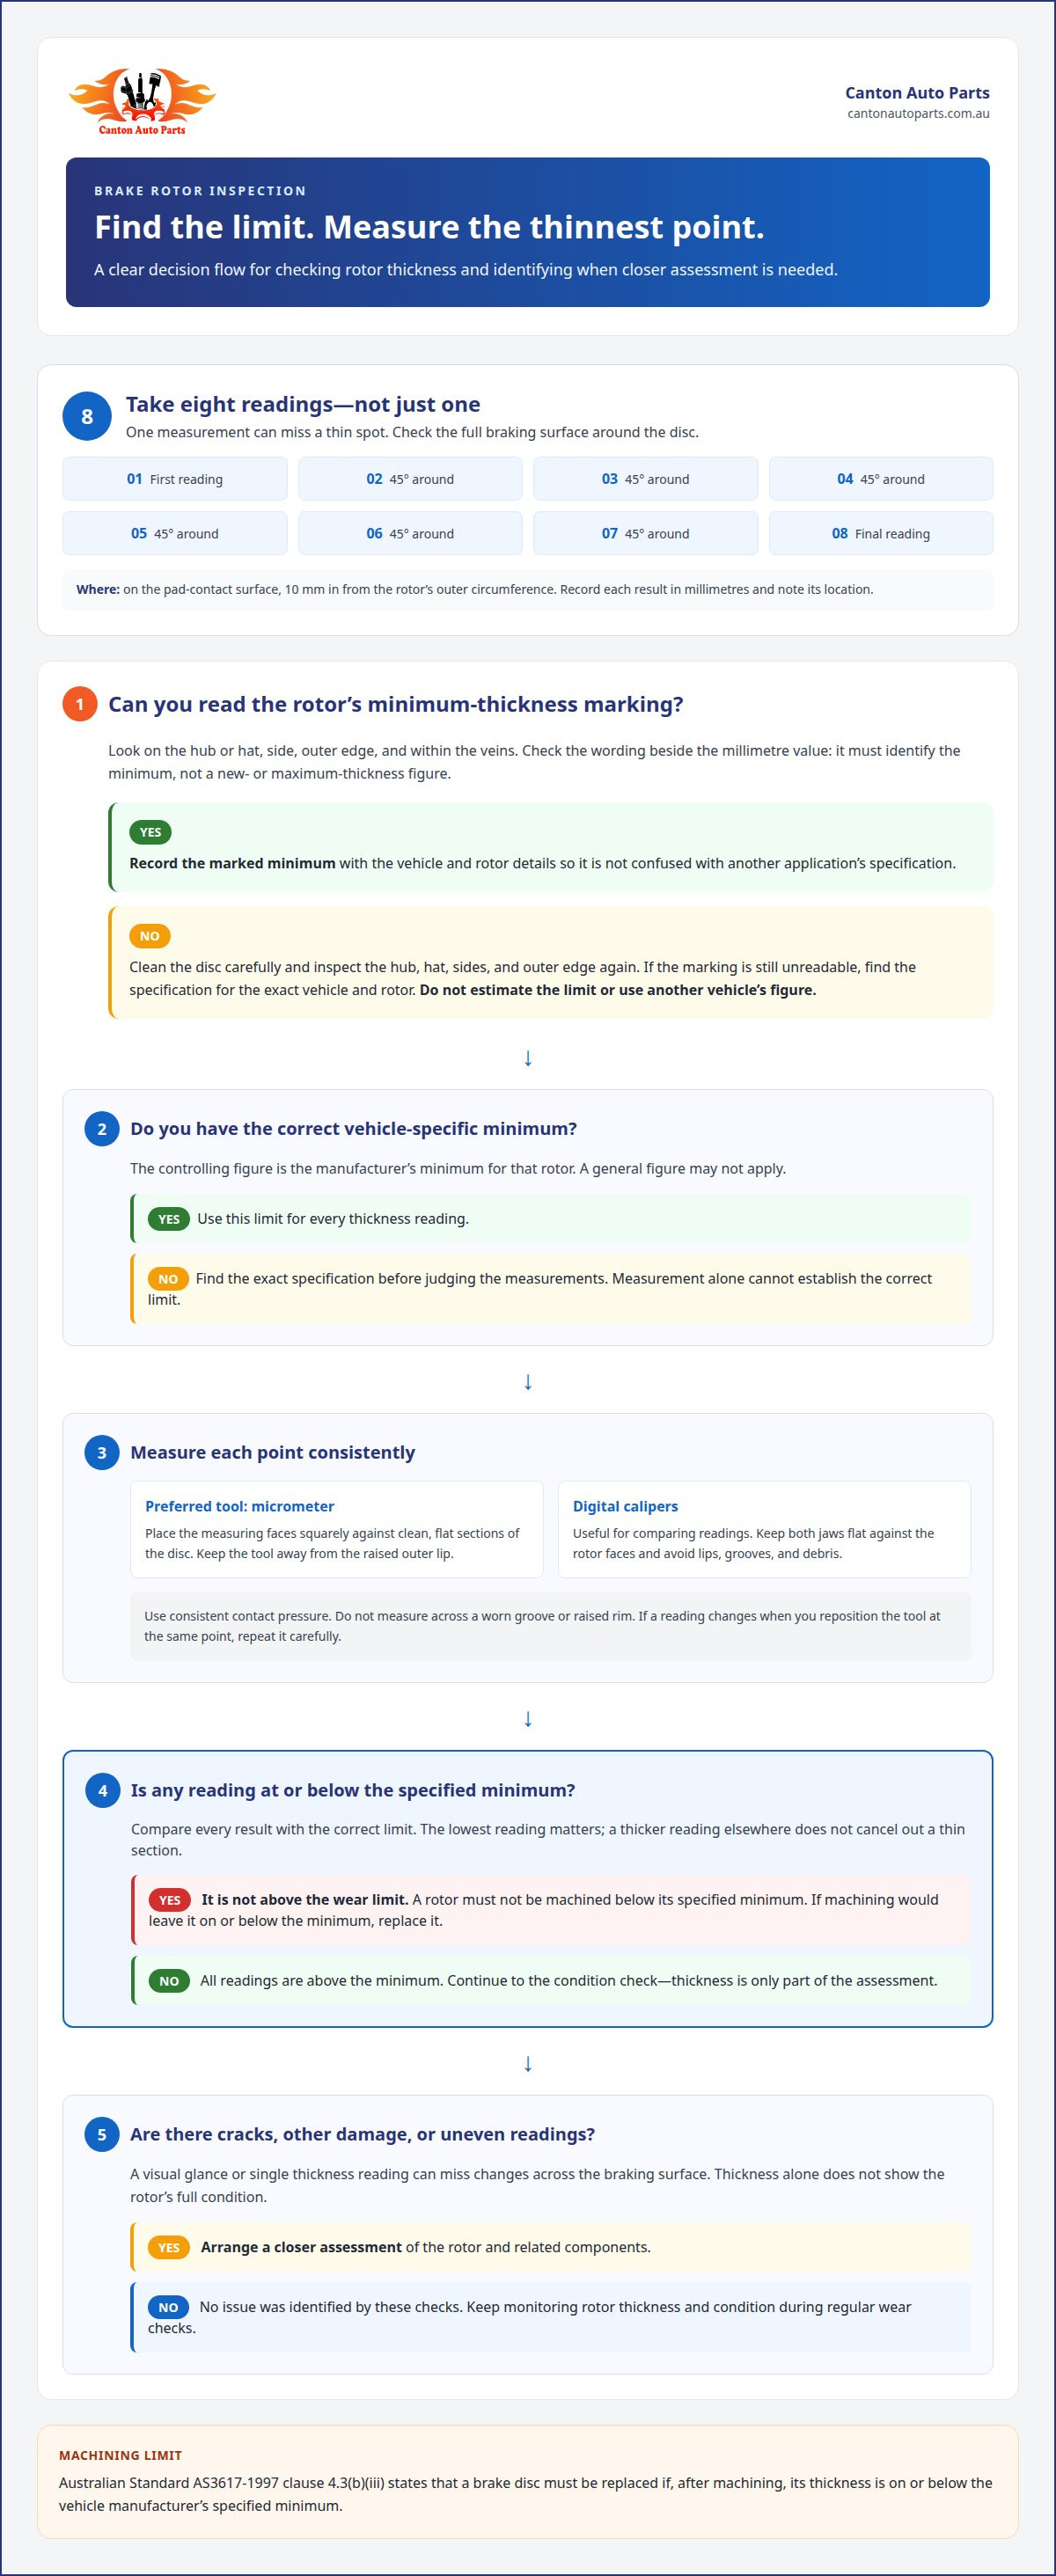
Look for the marking on the rotor’s hub (hat), then check the outer edge, sides and veins. Measure the braking surface at eight points with a micrometer and compare the lowest reading with the rotor’s minimum. If any reading is at or below the minimum, replace the rotor.
Why Rotor Thickness Matters
Rotor thickness is the distance across the disc’s pad-contact surface. As a rotor wears, it can absorb and shed less heat. A thin rotor is also weaker, which raises the risk of cracking or brake failure.
Where to Find the Minimum-Thickness Marking
The marking can appear in several places:
- The hub or hat (the most common spot)
- The outer edge
- The side of the rotor
- Within the vents or veins
Look for a value in millimetres next to wording such as “MIN TH” or “MIN THK”. Dirt, corrosion, salt, sand and mud can hide the engraving, so clean the disc carefully and check more than one surface.
Don’t confuse the numbers. Some rotors also show a new or maximum thickness. Read the wording beside each figure, and record the minimum with your vehicle and rotor details.
What If the Marking Is Unreadable?
Don’t estimate the limit or borrow a figure from another vehicle. Find the manufacturer’s specification for your exact vehicle and rotor, and note whether the disc is front or rear. If the rotor’s identity is uncertain, confirm the correct application first. Without a verified limit, a measurement alone can’t tell you whether the rotor is safe.
Minimum Thickness vs Discard Thickness
The two terms generally mean the rotor’s lower wear limit, though wording varies. The manufacturer’s minimum for that rotor is the figure that counts. Under Australian Standard AS3617-1997 clause 4.3(b)(iii), a brake disc must be replaced if, after machining, its thickness is on or below the vehicle manufacturer’s specified minimum. If resurfacing can’t leave the disc above that limit, replace it.
How to Measure Rotor Thickness
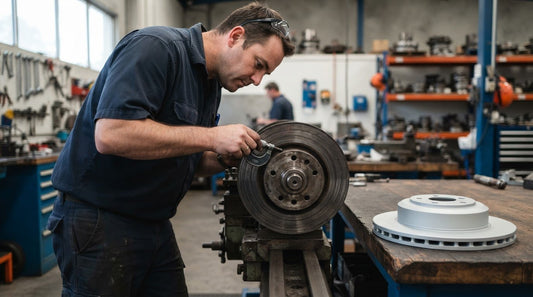
A micrometer is the recommended tool, especially when a reading is close to the limit. Digital calipers can help compare readings but are less suited to this job.
- Clean the braking faces of loose dirt.
- Measure about 10 mm in from the outer edge, on the pad-contact surface. Avoid the raised outer lip, grooves and debris.
- Keep the tool square and use consistent pressure.
- Take eight readings in total: the first, then seven more at 45-degree intervals around the same track.
- Record each value in millimetres beside its position.
- Compare the lowest reading with the rotor’s minimum. A thicker area elsewhere doesn’t make up for a thin spot.
If one reading looks off, repeat it at the same point to rule out poor tool placement. Don’t average the results, because an average can hide a reading at or below the limit.
Check for Uneven Wear (Disc Thickness Variation)
Disc Thickness Variation (DTV) means the thickness changes around the disc. As the wheel turns, the pads meet that changing thickness, which can cause pedal flutter or vibration under braking. Your readings show where the variation occurs, though not why. Measuring the same eight points again later shows whether wear is changing.
Inspect for Damage as Well as Wear
Thickness alone doesn’t show a rotor’s full condition. A reading above the minimum doesn’t rule out cracks or other damage, and an even surface doesn’t make a rotor acceptable if it’s at or below the limit. Check the friction surface for cracks and visible damage. A damaged rotor can wear the pads and may eventually damage the calipers.
Symptoms such as these mean the braking system needs attention:
- Squealing brakes
- Longer stopping distances
- The vehicle pulling to one side
- Brake pedal flutter
These can have other causes, so they don’t prove a rotor fault, but don’t rely on a thickness reading alone.
How Often Should You Check?
One maintenance recommendation is to check rotor thickness and pad friction material about every 10,000 miles (roughly 16,000 km). Follow your vehicle’s service schedule where it sets a different interval. A check only records the rotor’s condition at that moment, not how fast it will wear afterwards.
Using Specifications From Articles and Forums
Treat published figures as examples, not universal limits. One example lists 28 mm as new or maximum front rotor thickness and 26 mm as the minimum, but that applies only to the vehicle it describes. Before you use any figure, check that it matches your vehicle and whether it’s for the front or rear. Compare your lowest reading with the minimum, never with the new-rotor figure.
Need a Replacement Rotor?
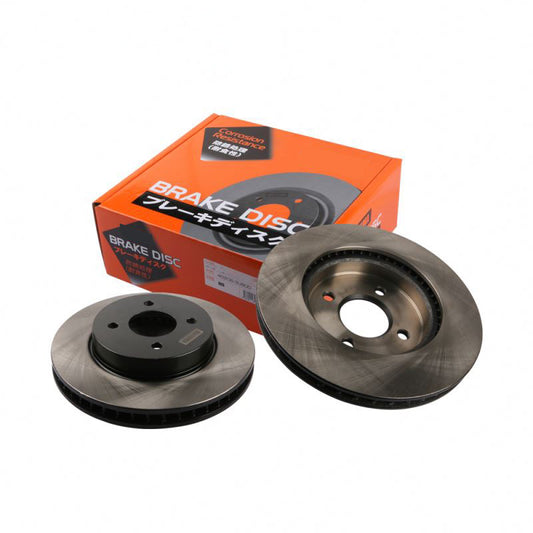
If your measurements show the rotor has reached its minimum, replace it with a part matched to your vehicle application. Canton Auto Parts supplies new braking components, as well as control arms, starter motors and alternators. Canton Auto Parts supplies parts only, so arrange fitting separately. Keep your rotor details and measurements handy, then contact Canton Auto Parts for help with replacement braking parts.
Frequently Asked Questions
Where is the minimum thickness stamped on a brake rotor?
Check the hub or hat first, then the outer edge, sides and veins. The position varies by rotor.
What if the stamping is unreadable?
Use the manufacturer’s specification for your exact vehicle and rotor, front or rear. Don’t use a figure from another vehicle.
How do I measure rotor thickness accurately?
Use a micrometer square across the clean braking faces, 10 mm in from the outer edge. Take eight readings at 45-degree intervals and compare the lowest with the minimum.
How much wear is acceptable?
It depends on the minimum for that specific rotor. If the thinnest point is at or below it, replace the rotor.
Tags:
Previous
Buying Car Parts Online vs Local Auto Wreckers: Which Costs Less
Next
Should You Upgrade Front Brake Rotors for Towing a Heavy Off-Road Camper?